
Card Stock Project
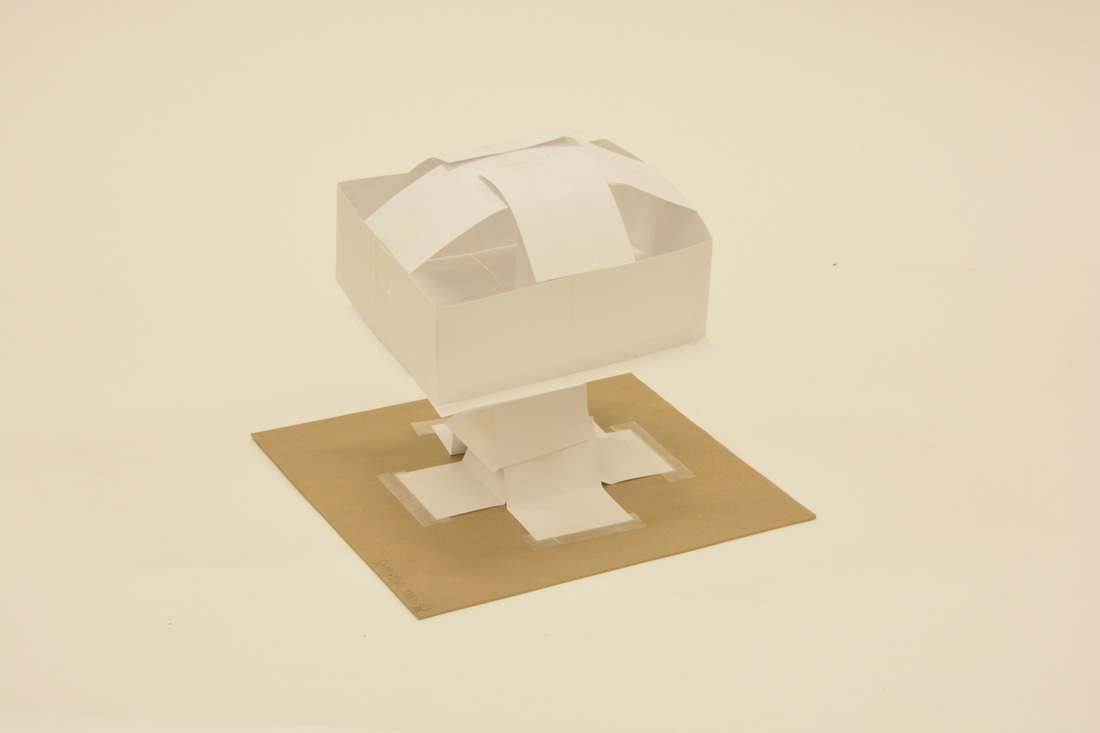
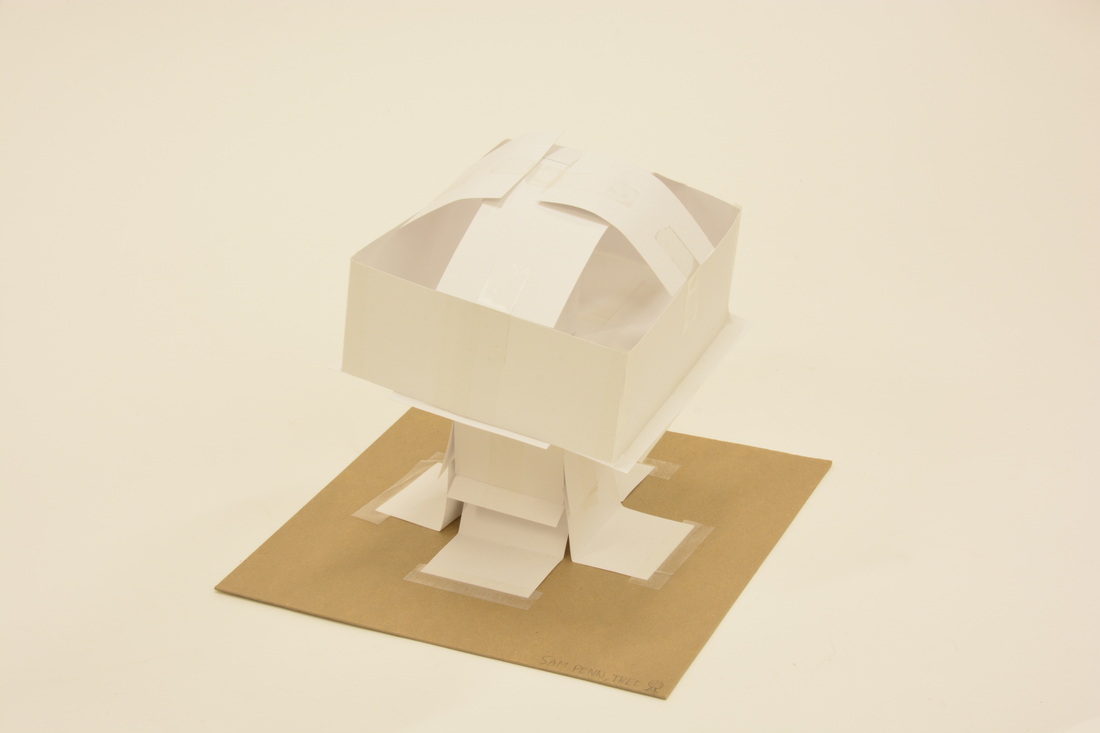
The objective of this project was to make a building out of less than 52 cards. The base was made out of a 10 by 10 piece of chipboard. Before we started building we had to choose something from nature that our building would represent. My building represented a tree. The hardest part of this project was getting my model to stand upright. It would often fall over. After we made our models, we made a brochure explaining what our building would be used for. We also had to explain all the parts of our building. After we made the brochure, we had to present it to the class. We had to convince the “client” that our idea for the building was good.
The objective of this project was to make a building out of less than 52 cards. The base was made out of a 10 by 10 piece of chipboard. Before we started building we had to choose something from nature that our building would represent. My building represented a tree. The hardest part of this project was getting my model to stand upright. It would often fall over. After we made our models, we made a brochure explaining what our building would be used for. We also had to explain all the parts of our building. After we made the brochure, we had to present it to the class. We had to convince the “client” that our idea for the building was good.
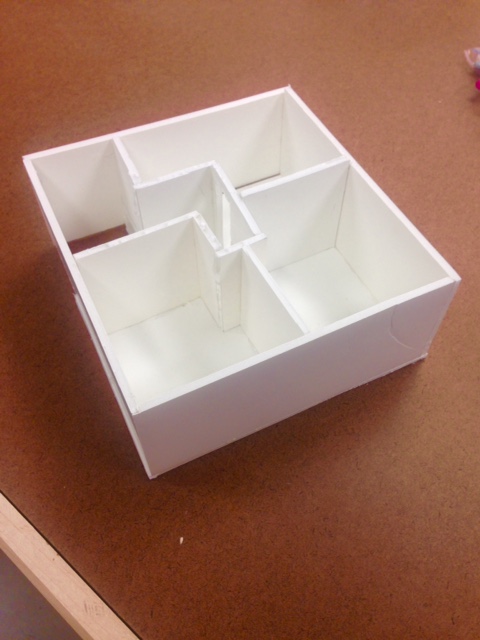
Desk Organizer Project
For this project we had to design and create a desk organizer that could fit all of Mr. Walker’s supplies and tools. In the beginning we had to pick a style of architecture for our desk organizer. I chose mid-century modern. All of our sketches, designs, and models had to be in that same style.
It was a long process to get to the end of the final product. First, we had to research our style of architecture. We had to create a poster about mid-century modern. The poster included a collage of pictures and a description of mid-century modern. Next, we had to make multiple sketches and designs of our desk organizer. Next, we had to make a 3D model of our project in Google sketch up. We also had to use drafting boards to draw orthographic projection drawings of what we created on Google sketch up. After that, we made study models of the desk organizer out of chipboard.
Time management was a big part of this project. Drafting was the step that took the longest out of the whole project. This step took a long time because the drawings had to be close to perfect. Making the model on sketch up did not take that long. The was one of the fun parts about the project. Measuring chipboard to make sure it fit on the project was a very time consuming part of the project. We had a lot of holes in our project because we did not measure correctly. Another problem that we ran into when we did not measure correctly was that tools did not fit. It was also hard to manage time while doing a good job, making the project look neat, and functionable.
Some parts of the project were easy and other parts were challenging. Cutting chipboard neatly was the most challenging thing for me. If you cut the chipboard a certain way small pieces of the chipboard peel off and it looks sloppy. It was also very hard to make the chipboard fit. We tried to make a hole to fit Mr. Walker’s coffee mug but it was too small. The hole was able to fit a Gatorade bottle, but not a coffee mug. We also tried to make a space for the presenter, but that hole was slightly smaller than it was supposed to be.
The design part of the desk organizer project was fun. I enjoyed designing the model in Google sketch up. I felt confident about the chipboard model before we started because I had done it before. When I started the model I realized how time consuming it really was. It took us a long time to calculate the measurements and cut the chipboard correctly. It was very hard to make the chipboard fit correctly so that there would not be any holes in the desk organizer. I felt better after we finished the project because I have practice so I think the next project will be a little easier. I learned a lot doing this project and I enjoyed doing it.
|
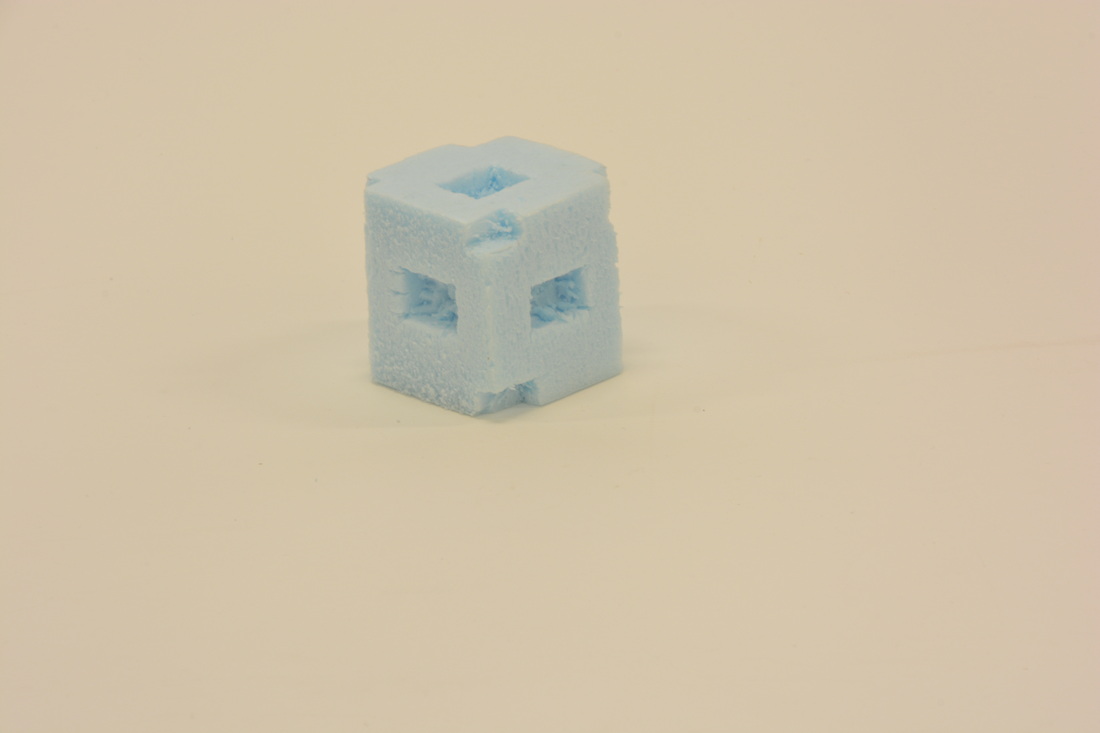
Cube Reflection
The objective of the cube project was to make a subtractive cube out of a blue foam block. We started out with a 2x2x2 cube and we cut away from it. Everybody had a different design and pieces were cut out from every side. This project had a short process. For the first part we made thirty-two sketches, all of subtractive cube ideas. After we did all the sketches we put a few of our ideas on Google sketchup. After that we chose one idea from sketchup and started drawing it on a drafting board. On the drafting board we learned how to make axonometric drawings. After we finished drafting we got into cutting the cubes. This part of the project didn’t take long at all. Time management was not a challenging part of this project. The longest part of this project was the thirty-two sketches that we had to do. Drafting took about the same amount of time as the sketches. A challenging part of this project was cutting in to the blue foam. It was hard to make the cuts look neat even though it was a study model. The hardest part was cutting a middle piece out of the cube. Drafting was a fun part of this project. I liked drawing the axonometric drawing. It was a good challenge. I wanted to do the extra credit drawing, but I didn’t have enough time. Overall, I enjoyed this project. 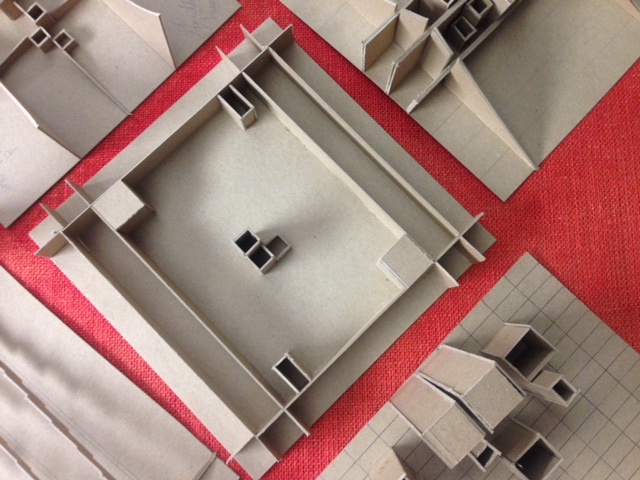
Chipboard Vocabulary 1
The overall purpose of this project was to build a model out of chipboard that represented two of our vocabulary words. My vocabulary words were unity and formal balance. I chose these words because they work well together. The process for this project was fairly simple. First, we had to sketch some ideas in our sketchbooks. For this project, we did not have to do a certain amount of sketches which was good. After we had some ideas on paper, we went into Google Sketchup and made a few models. After that we chose our best idea, and we drew it on a drafting boards. For this project, we did something different on the drafting boards. We made an axonometric drawing. When we got finished drafting, we went right into model building. Time management was not a challenge for me during this project. The part that took the most was drafting. Drafting took a long time because all the lines had to be perfectly straight. All the lines also had to be the right length. The part that took the least time for me was model building. My design was fairly simple; thats part of the reason it was so easy. The most challenging part of this project was the axonometric drawing. It was something new for me. It was challenging because I never did a 3D drawing that was complex as this one. It was also had to tell what lines I was suppose to use to make it look 3D. Another challenging part of this project was the restrictions. In the beginning, I didn’t think that we were going to have restrictions because of what was on the wall from the class before us. Restrictions made it hard for me because one of my vocabulary words were formal balance. It was a requirement to have three open boxes and that isn’t an even number, so it was hard to balance it. 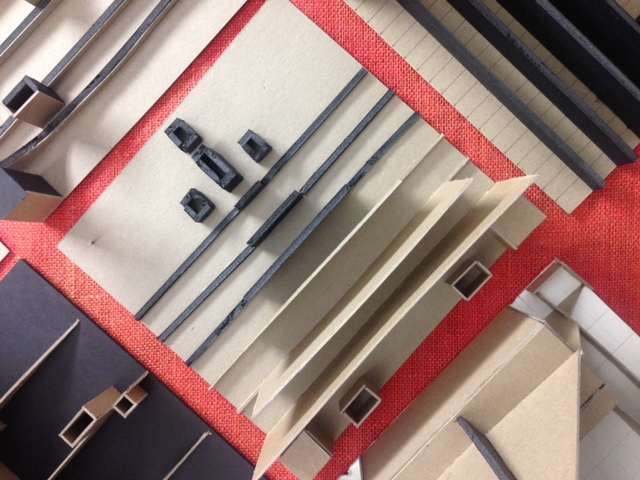
Chipboard Vocabulary 2
For the second chipboard model we basically did the same thing as the first model. The thing that was different about this model is that we had to chose three vocabulary words instead of only two. The vocabulary words that I had were contrast, emphasis, and transformation. To get a good design we did a lot of sketches for this project. At first I had one basic sketch-up model, but then I started adapting and changing my design. The most challenging part of this project was making a good design. We were required to make six lines on the model and I was struggling to make those lines describe my vocabulary words, but then I started to mess around with my model in Sketch-up again. That was when I really started to like the design, and that's also when the design started to describe my vocabulary words. My favorite part of this project was making the model. I got to use two different materials, which was chipboard and foam core. |
|

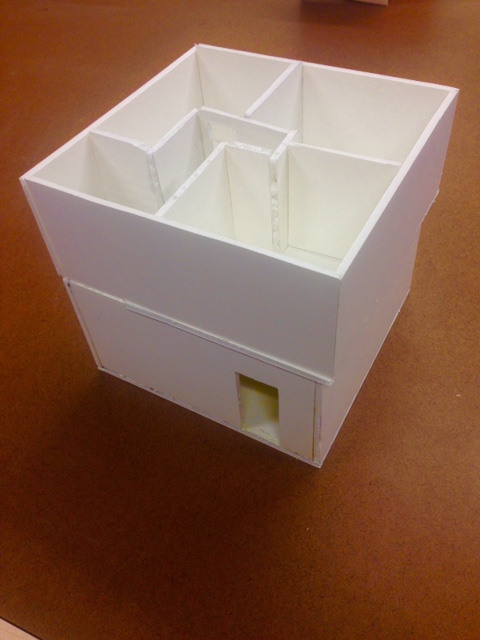
Micro-living Project
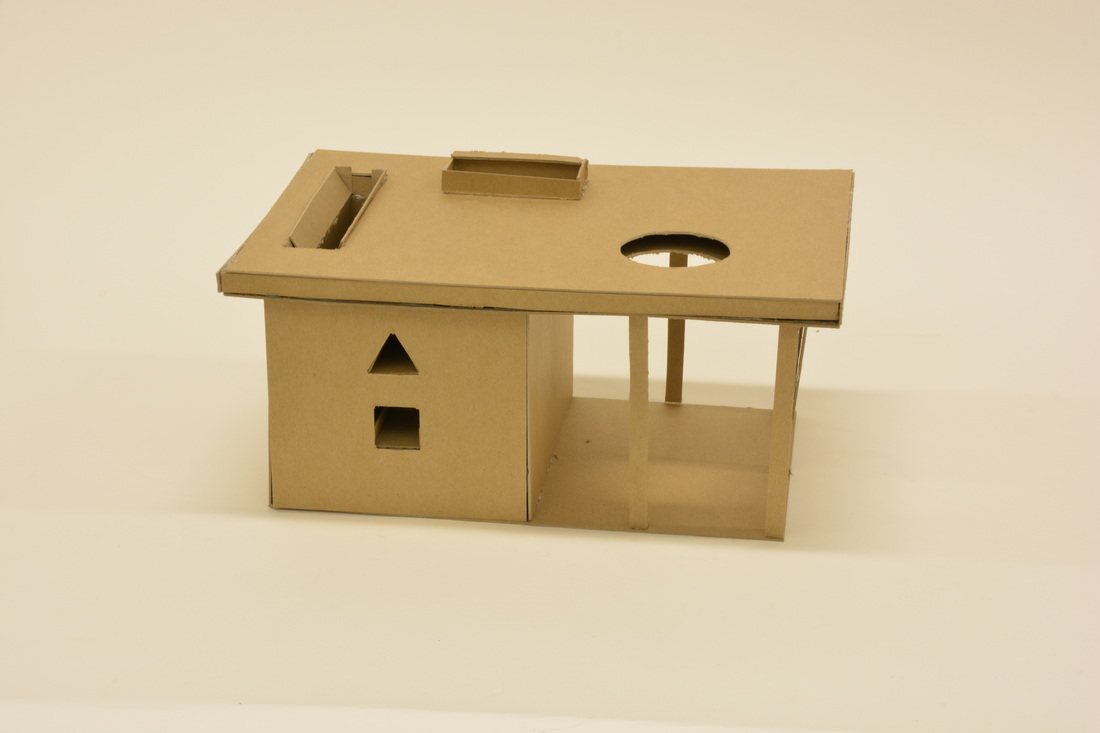
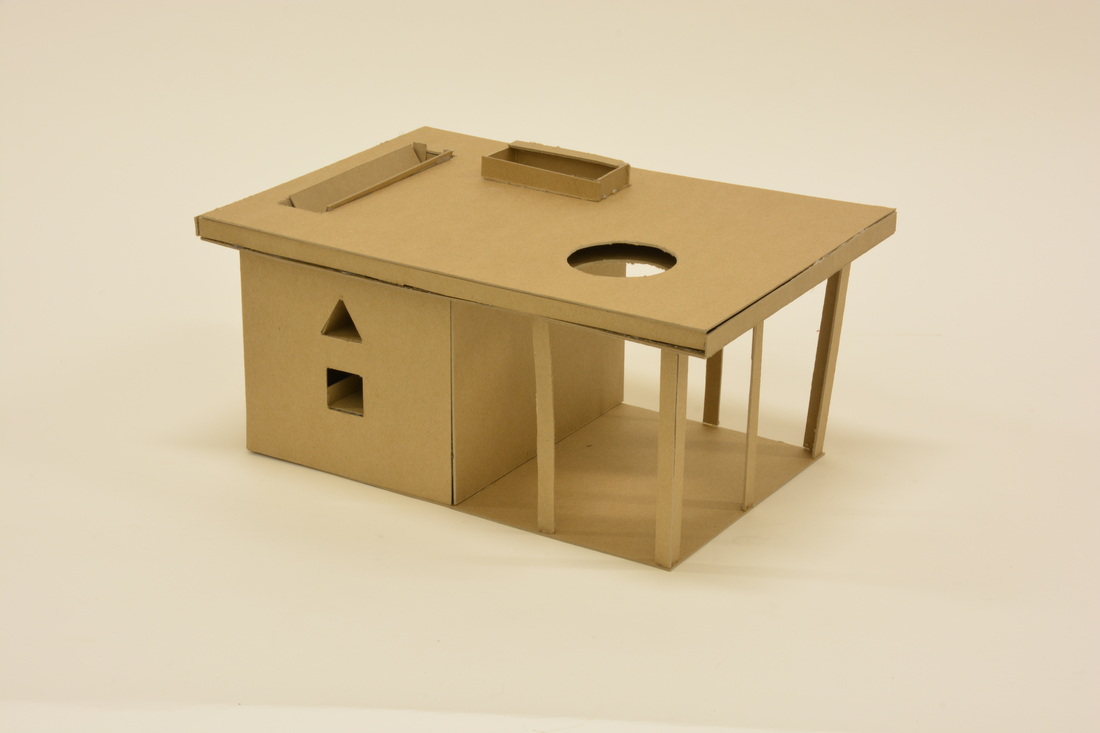
The goal of the micro living project was to make a small house that three average size adults can live in. The house had to be 16x16x16. To get ideas for this project we had to research a certain architecture firm. The firm that Isaiah and I chose was NOMAD. We made a poster of information and pictures of micro living designs that our firm did. This was the research that we did for this project. The next step that we did was Google Sketch-up. When we were designing on Sketch-up we started to develop the design that we were going to use for our study model.
Time management was a big part of this project because we didn't spend as much time on modeling as we did during the other projects, so we had to move fast. We spent a lot of time in Sketch-up during this project. In our sketch-up model we added furniture and it was challenging to make the furniture fit in the right place and get it the right size. It was also challenging to make a good design during this project. My favorite part of this project was probably using furniture in Sketch-up and designing the interior.
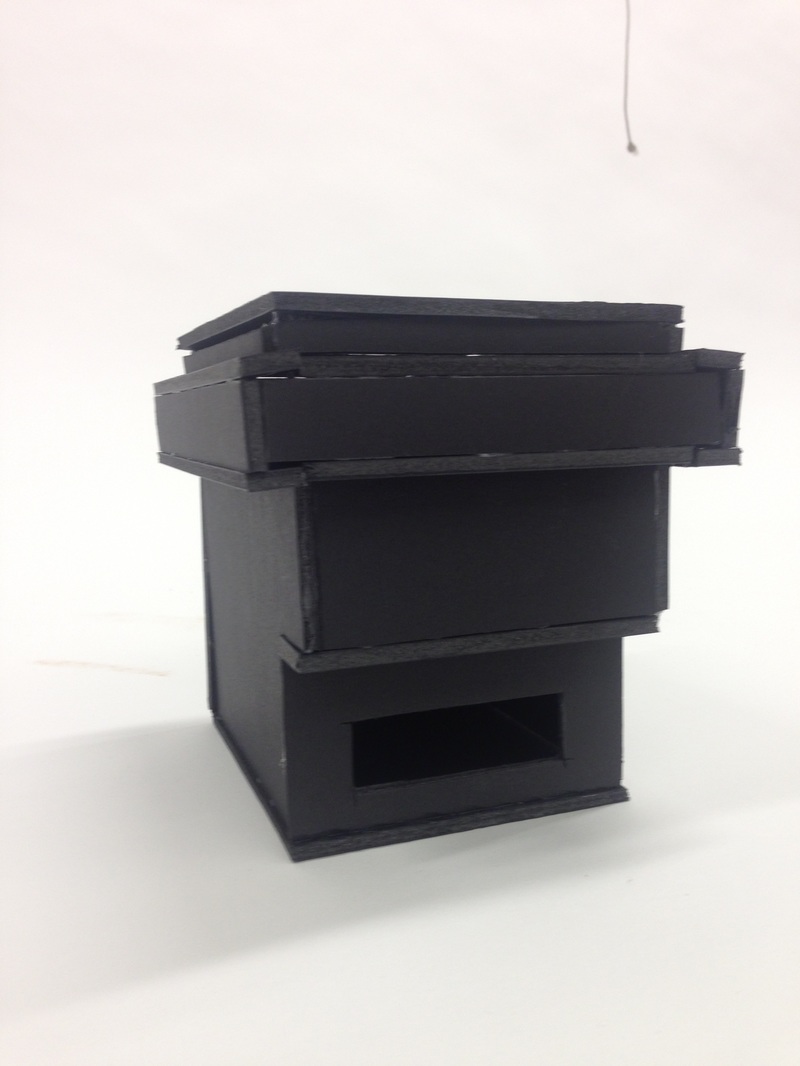
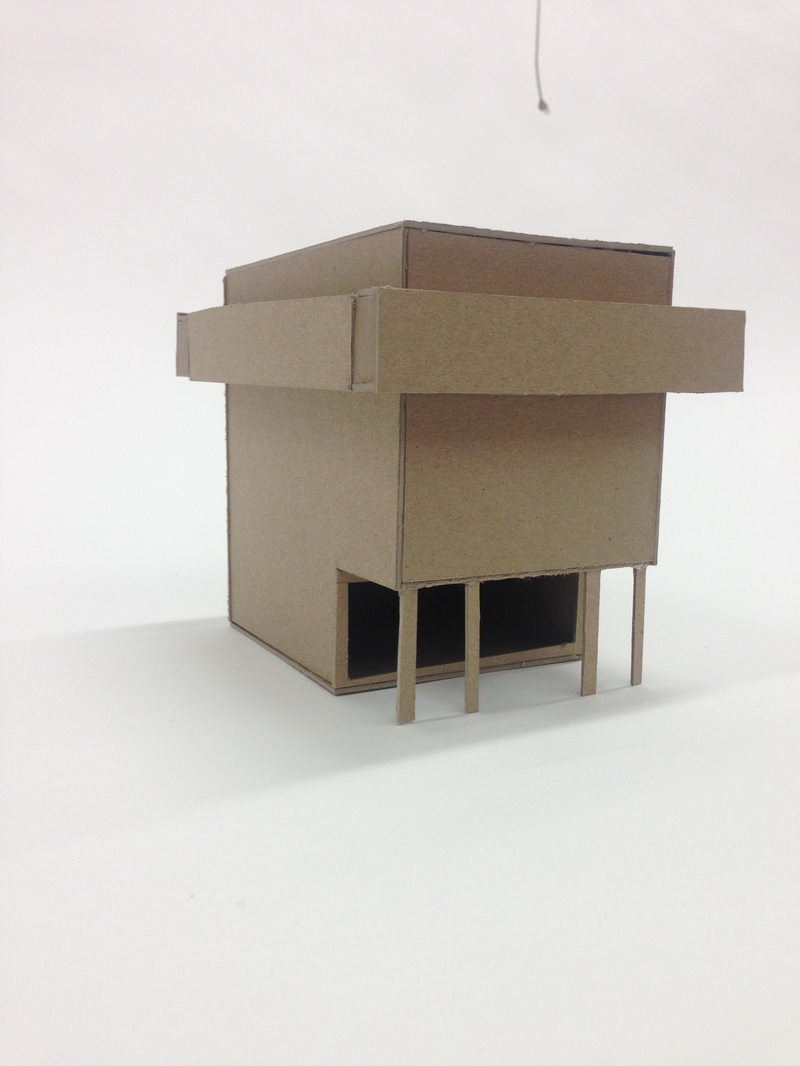
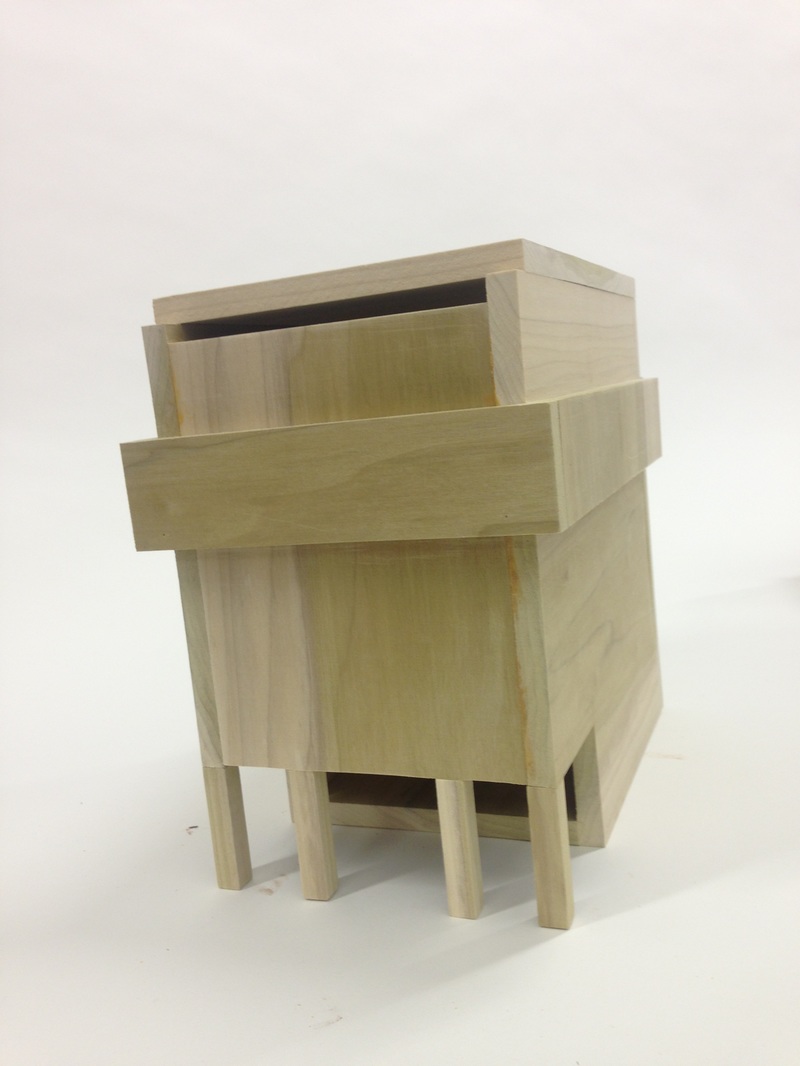
Birdhouse Reflection
The objective of this project was to build a birdhouse for a very picky client, which was a bird. The bird that I chose was the red-winged blackbird. The birdhouse I built also had to be in the style of the famous architect that we chose. The architect that I chose was Le Corbusier. I had to research all different kinds of things about the bird so that we could design a birdhouse to fit its needs. I also had to research the architect to see what kind of buildings he designed. The process of this project was pretty long. After I researched the bird I had to start designing sketches of the birdhouse. I drew about thirty different sketches. After I found a sketch that I really liked, I developed my design into Google Sketchup. This was a big part of my design development because I changed my design to represent Le Corbusier’s buildings more effectively. After I finished my sketchup model, I made two massing models out of blue foam. I also made two study models. The study models that I made were in half scale. One of the models was made out of chipboard and the other one was made of foamcore. The chipboard model is a presentation model. I had to use an architectural scale to make both of these models. After I finished making the models, I made an axonometric drawing. This was challenging because there were a lot of lines that drew, but I didn’t really need them. The reason I didn’t need them is because they wouldn’t be seen if you saw the birdhouse from that angle. Line weight was important for making the drawing because it made it appear realistically. This drawing was from a perspective so that you could see the important components of the birdhouse. The next step in this project was AutoCAD. I had to plan how I was going to cut the wood out. There was a big section of the board that I didn’t need to use. This was the construction document for this project; it helped me figure out the pieces I needed to complete the birdhouse. The final part of this project was making the birdhouse out of wood. I never cut and assembled wood like this before. This was also the first time that I used a bandsaw to cut. Assembling the birdhouse was easier than I thought it would be. I think that was partially because I had a pretty simple birdhouse.
The objective of this project was to build a birdhouse for a very picky client, which was a bird. The bird that I chose was the red-winged blackbird. The birdhouse I built also had to be in the style of the famous architect that we chose. The architect that I chose was Le Corbusier. I had to research all different kinds of things about the bird so that we could design a birdhouse to fit its needs. I also had to research the architect to see what kind of buildings he designed. The process of this project was pretty long. After I researched the bird I had to start designing sketches of the birdhouse. I drew about thirty different sketches. After I found a sketch that I really liked, I developed my design into Google Sketchup. This was a big part of my design development because I changed my design to represent Le Corbusier’s buildings more effectively. After I finished my sketchup model, I made two massing models out of blue foam. I also made two study models. The study models that I made were in half scale. One of the models was made out of chipboard and the other one was made of foamcore. The chipboard model is a presentation model. I had to use an architectural scale to make both of these models. After I finished making the models, I made an axonometric drawing. This was challenging because there were a lot of lines that drew, but I didn’t really need them. The reason I didn’t need them is because they wouldn’t be seen if you saw the birdhouse from that angle. Line weight was important for making the drawing because it made it appear realistically. This drawing was from a perspective so that you could see the important components of the birdhouse. The next step in this project was AutoCAD. I had to plan how I was going to cut the wood out. There was a big section of the board that I didn’t need to use. This was the construction document for this project; it helped me figure out the pieces I needed to complete the birdhouse. The final part of this project was making the birdhouse out of wood. I never cut and assembled wood like this before. This was also the first time that I used a bandsaw to cut. Assembling the birdhouse was easier than I thought it would be. I think that was partially because I had a pretty simple birdhouse.
